How to add the PencilPay link to your Cin7 Core Sale Order Template
Prerequisites:
- You will need an active Cin7 Core connection with PencilPay.
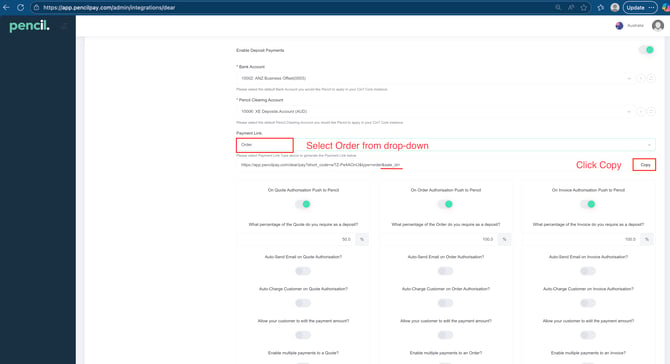
- Check you have enabled "Enable Deposit Payments" in your PencilPay Cin7 Core configuration. To do this log into your PencilPay account and go to: Integrations -> Cin7 Core -> scroll down to "Enable Deposit Payments" and check it is enabled. If it isn't, enabled it.
- Once "Enable Deposit Payments" is enabled, you will need to check the setting "Order Authorisation Push to Pencil" is Enabled. If it isn't, enable it.
- Then you to confirm what percentage of the quote you would like your customers to pay. We recommend setting this to 100% and leave "Auto-Send Email on Authorise Quote?" disabled.
- Under "Payment Link" remember where to find the "Order" as you will need this link below.
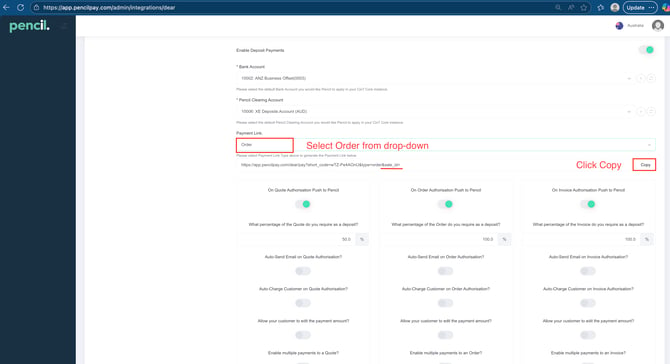
- Save any changes if you have made them before proceeding to the next step.
- You will need Microsoft Word to edit the template file.
- See screenshot below for prerequisite references.
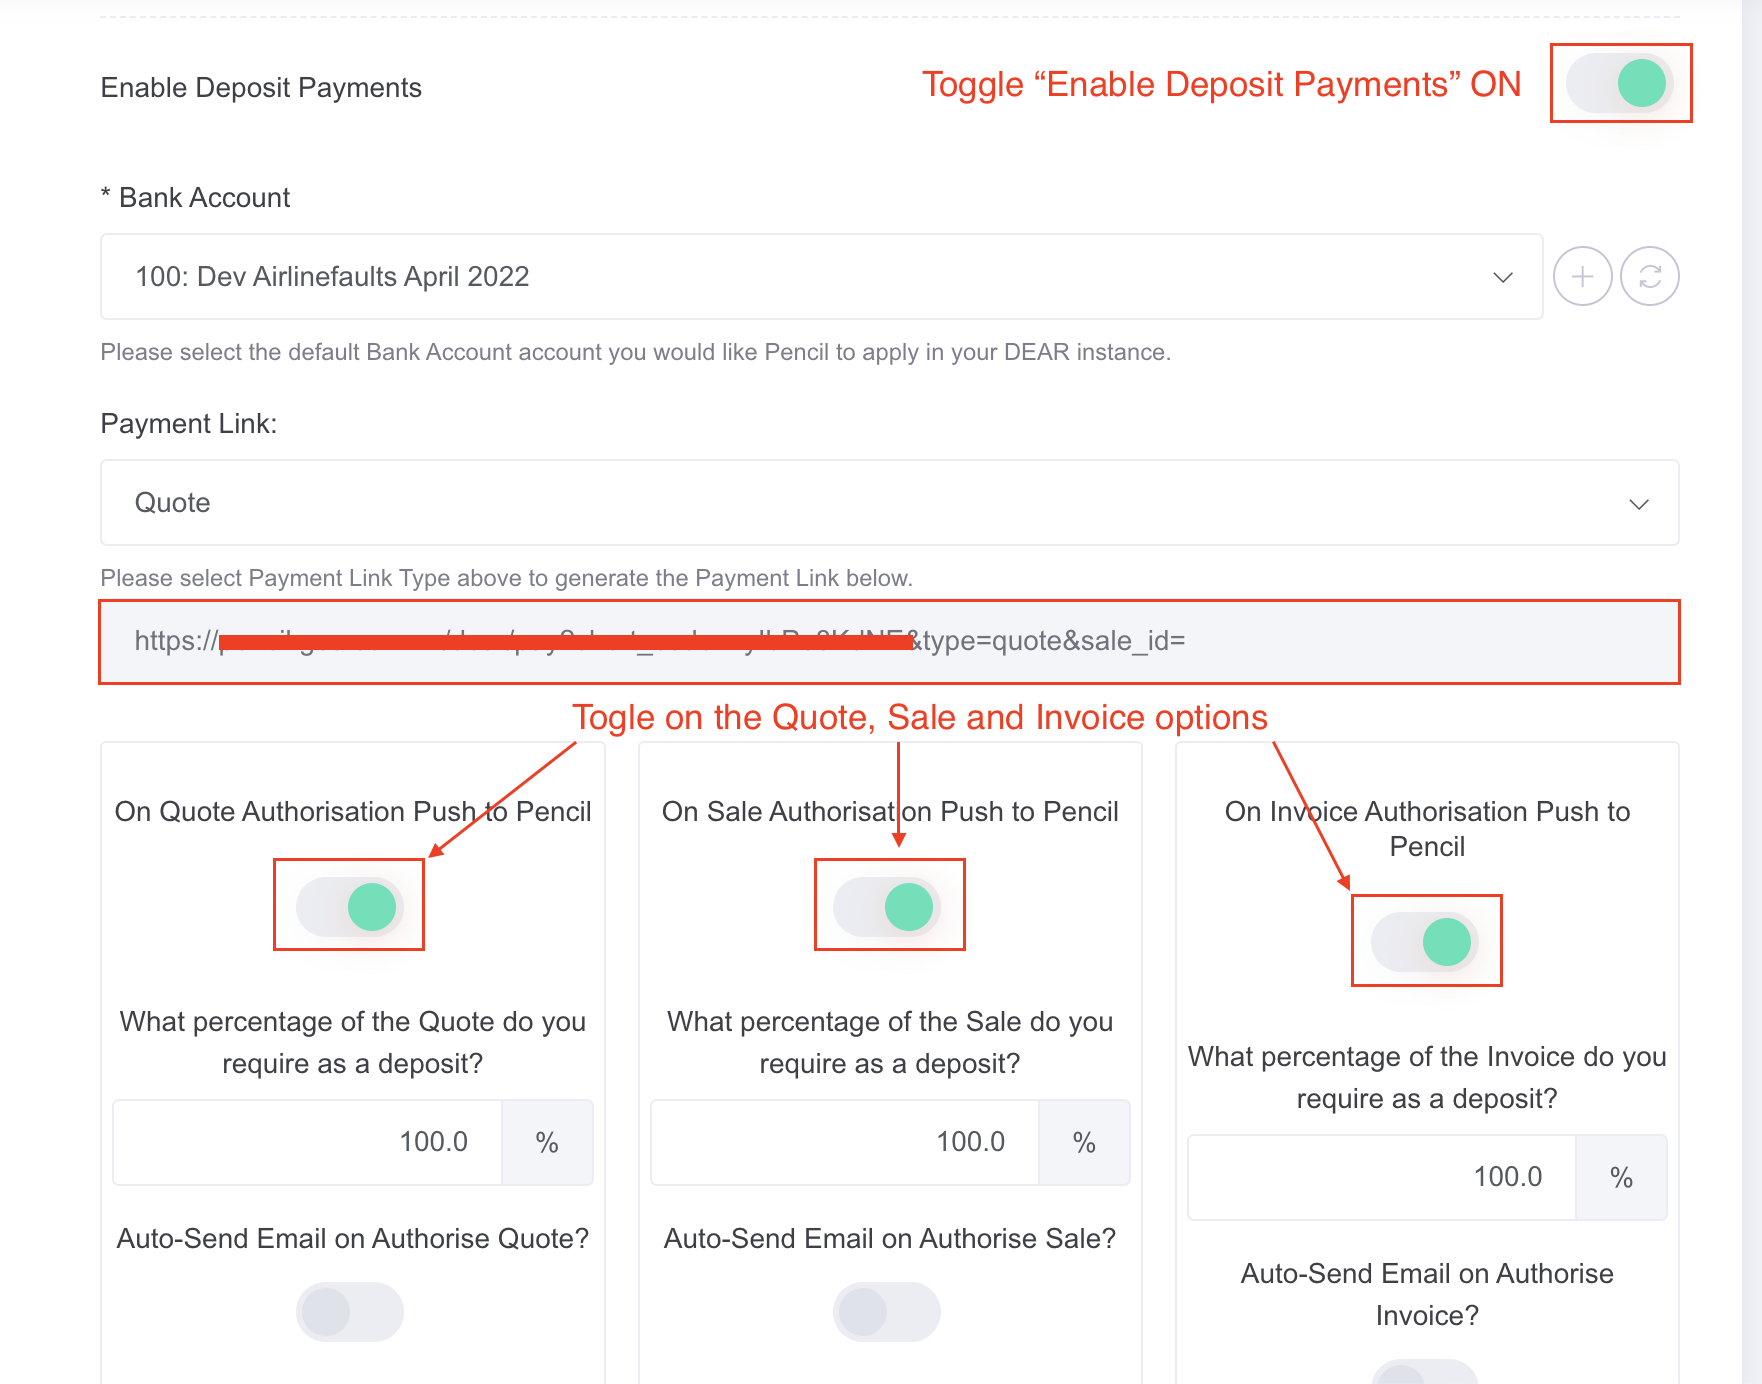
Configuring your Cin7 Core Sale Order Template
- Log into your Cin7 Core account and go to Settings -> Documents & Email Templates
- Click on the "Sale Order" template and then click on "Download Template"
- Open the Word document you downloaded.
- Scroll down to the bottom of the Word template until you see
Notes:
«OrderMemo»«TableEnd:Sale» - Put your mouse cursor the middle of the right/left double arrows «OrderMemo»«TableEnd:Sale» and press enter to create a line break
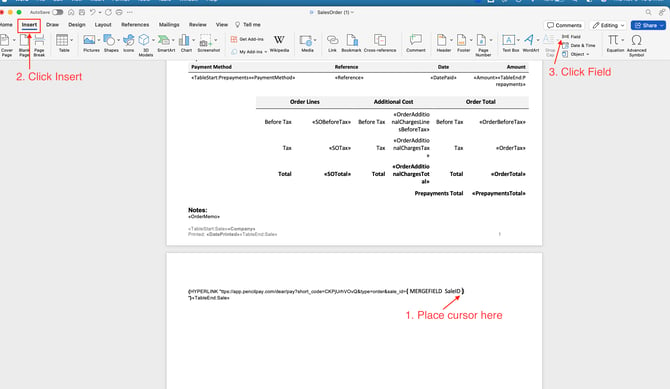
- In the top left corner click on "Insert", which is to the right of "Home"
- Click Links -> Link -> then paste the "Order" Payment Link from point 5 in the Prerequisites above.

- In the "Text to Display" change the link to "Pay by PencilPay"
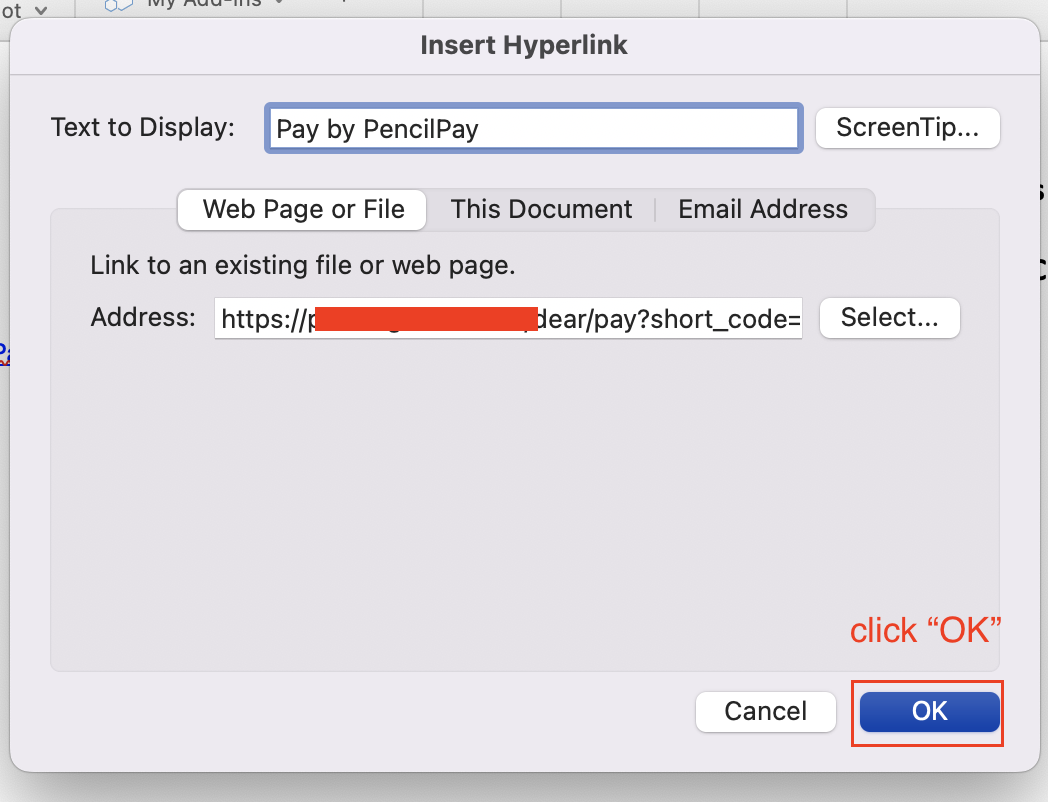
- Click Ok.
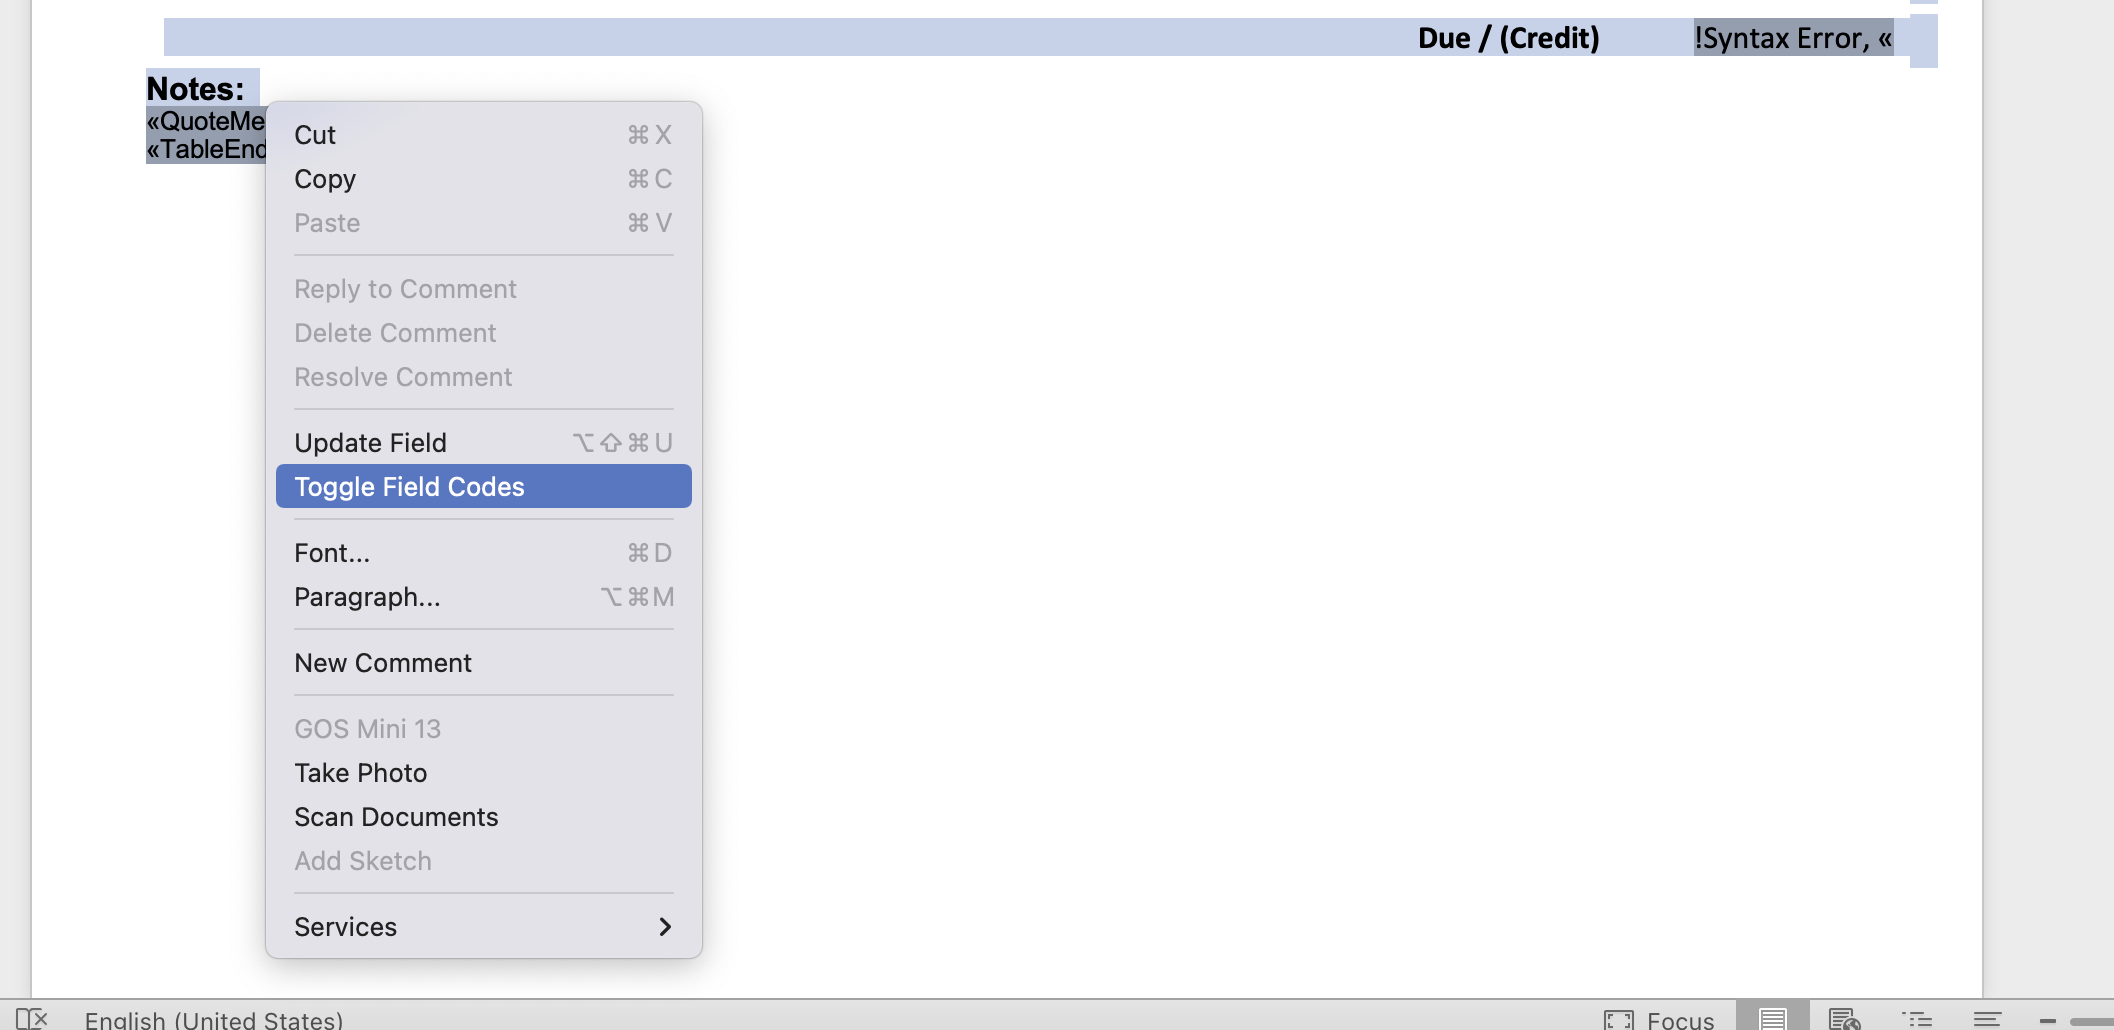
- Put your mouse over "Pay by PencilPay" and click your right-mouse and "Toggle Field Codes".
- Scroll to the top of the Word document and look for "Quote Number" and triple click on the {MERGEFIELD SONumber} and copy this value.

- Then scroll down to the "Pay by PencilPay" link and paste the "SO Number" value after the = in "sale_id="
- Then highlight "Pay by PencilPay" again and right click on your mouse -> select "Toggle field codes" and change "SONumber" to "SaleID". Then click "Update Field" and then "Toggle Field Codes" to check the "SONumber" is showing as "SaleID".


- Mouse over the "SaleID" merge field and right mouse; click "Toggle Field Codes".

- Put your mouse at the end of "SaleID" and click on the top menu "Insert" and then click the "Insert a Field" icon.
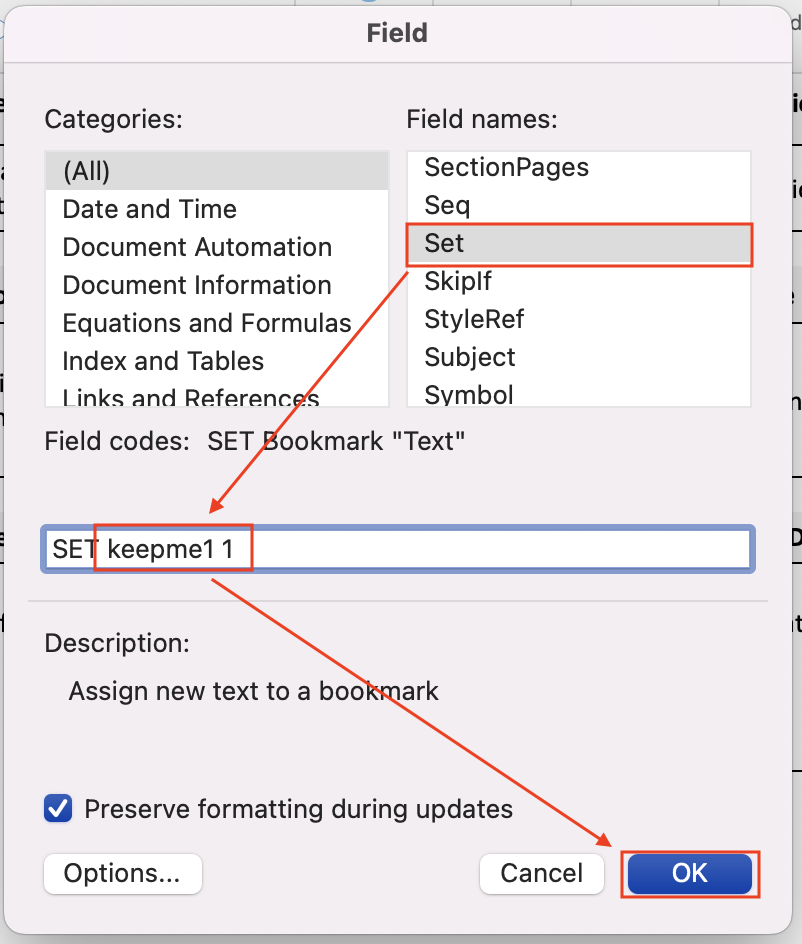
- In the popup click on "Set" and then enter "keepme1 1" after "Set" with a space between and click Ok.
- Mouse over the "SaleID", click the right mouse and "Update Field Codes".
- Save your document with a new name, eg. PencilPay Sale Quote.
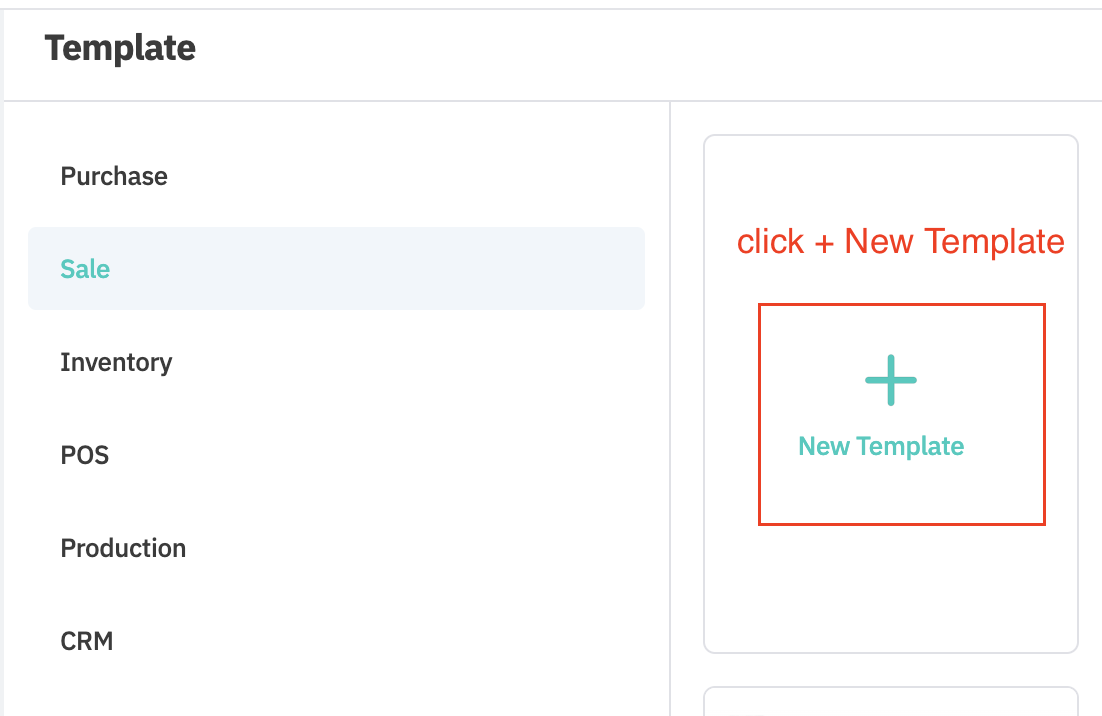
- Then go back into Cin7 Core -> Settings -> Documents & Email Templates -> click the "+ New Template"
- Update these settings:
- Template Type = Sale Order
- Template Name = PencilPay Sale Order
- Select your new template in "Choose document template"
- Scroll down and click Save

- Next in Cin7 Core you can go to Sale -> Sales -> find a Sale that is at Order stage or add a new Sale. Authorise the Order and then either click "E-Mail" or "Print" (this is faster for testing) and send or print/download a copy of the quote.

- Open the quote PDF and scroll to the bottom and click on the "Pay by PencilPay" link.
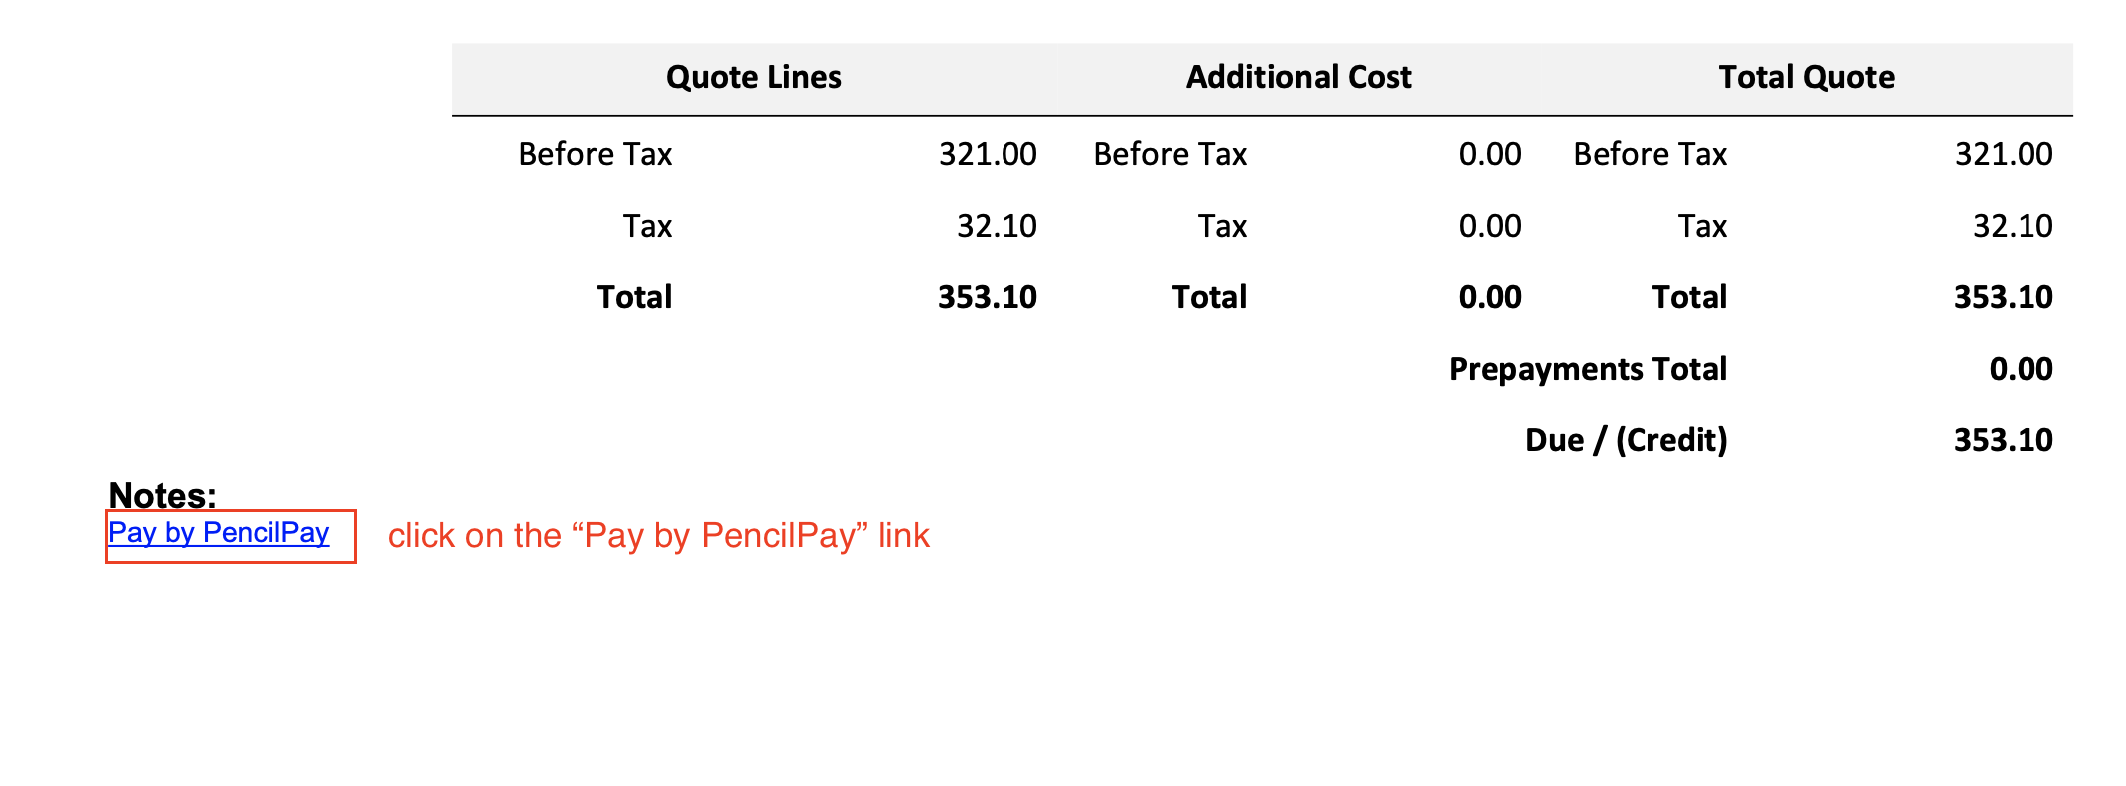
- This will open up to the payment page to enter your payment details or authorise if the customer has signed up.
To update the Sale Quote click here.
To update the Sale Invoice click here.
![200707 pencil-logo-white-green-white_background-square.png]](https://support.pencilpay.com/hs-fs/hubfs/200707%20pencil-logo-white-green-white_background-square.png?width=150&height=53&name=200707%20pencil-logo-white-green-white_background-square.png)